How to make an awesome electronics enclosure
Introduction
We all know presentation is everything when it comes to new products, so how do you go about making your electronics project look as good as possible?
Fortunately there’s a lot of options for making a nice looking electronics enclosure with little or no upfront investment.
This article is the result of a lot of research I’ve done recently on the subject, and I hope it will be useful to others in the same position.
Function
Let me start by saying that an electrical enclosure does a LOT of things. A professionally engineered enclosure will take account of things like EMC, ingress protection, cooling, and many other things besides.
However, in the interests of keeping this article short we’ll just focus on two aspects - making an enclosure which keeps your PCB safe, and looks appealing.
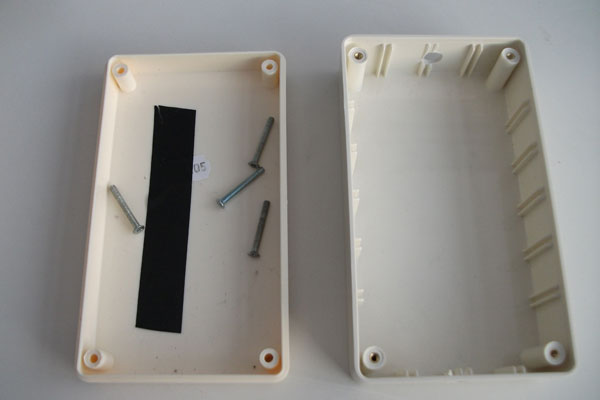
I’m willing to bet that most people have encountered electronics boxes like this before at their local electronics distributor.

But we can do better than that!
Option 1 - Buying a better enclosure
The enclosures sold by most electronics retailers cost a couple of pounds, and are at the lower end of what’s available.
You’ll find many retailers online who sell enclosures, but they look incredibly dated.
Let me save you a couple of hours of Googling and suggest some companies you take a look at.
OKW
OKW is a German firm which owns several other enclosure manufacturers.

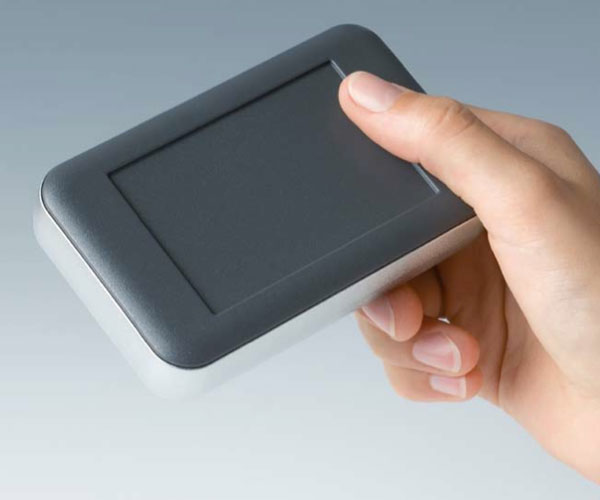
Their enclosures are excellent quality, and engineering drawings are available for all of their products. However, you have to pay for this quality - expect an enclosure to cost at least 10.
Sparkfun
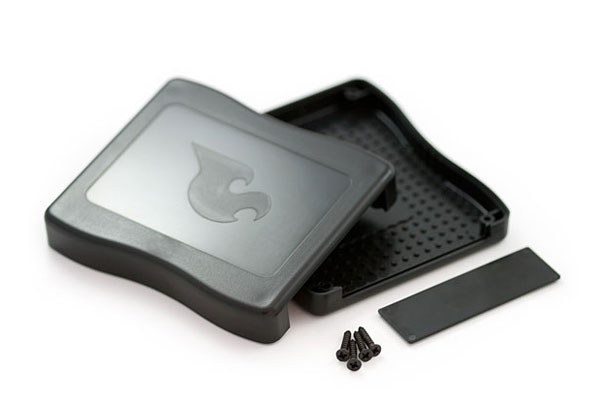
If you can tolerate the large logo on top of the enclosure, then this product is a great choice.

There is one feature which is unique to this enclosure - an array of dimples on the inside surface, which allows you to easily mount standoffs in a number of different positions.
Also, note the removable front panel. You’ll see this on a lot of enclosures, and it’s a great feature because it makes machining holes for connectors much easier than trying to clamp the entire box in a vice for machining.
Parting remarks
There are a lot of enclosures out there in a range of materials (however mostly aluminium or ABS). If you can find one that suits your needs then that’s great - but now we’ll look at other options if you want something more unique.
Option 2 - Cut and fold
If you have access to a router or laser cutter then this can be a good option.
The process is very simple - cut a profile out of perspex, and bend with a line bender.
The great thing about this process is that laser cutters can both cut and engrave. So you can engrave a logo or other decoration into the material.
Materials are available which are two colour - meaning that the engraved section is a different colour to the rest of the material meaning it shows up clearly.
The only problem with this process is it’s constrained to boxy shapes. And even though a line bender is simple to build, it still involves some upfront investment.
Option 3 - Machining
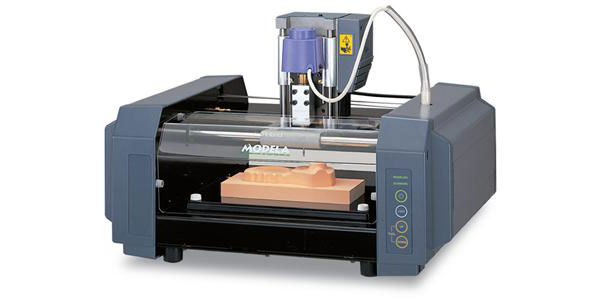
Mini CNC mills like the Roland Modela are becoming more common in Hackspaces and Fablabs.

But first you need 3D software to create the files for the CNC machine. This is a constraint you’ll run into as you begin to create a truly custom enclosure.
Industry standard software such as Solidworks is far too expensive for hobbyists. The best solution I’ve found is Alibre CAD which is more than capable enough for creating custom enclosure designs.
Option 4 - Injection moulding
Injection moulding is the process by which professional enclosures are made. Tooling costs for high volume, high quality parts can run into the tens of thousands of pounds. However there are cheaper alternatives available for small volumes.
Rapid Injection Moulding (RIM)
Injection moulding tools are typically made from semi-hardened or fully-hardened steel which gives them a long life, and excellent surface quality. However, tools can be made of aluminium which makes then faster to machine, and much less expensive.
This method is referred to as ‘rapid injection moulding’, and may be suitable for an enclosure design if you want to manufacture a few dozen parts.
A pioneer of RIM was Protomold, which still offer competitive rates and are worth checking out.
Vacuum casting
Vacuum casting involves printing a 3D copy of your enclosure, and using it to create a silicone mould. The silicone mould is then used to cast copies of the part. The mould degrades quickly, but is good enough for at least a dozen parts.
Option 5 - 3D Printing
Options
3D printing definitely holds a lot of promise, but for a reasonably sized enclosure (say it will contain half a Eurocard sized PCB), the costs can easily hit 100. The price is determined on a volumetric basis, so you need to make sure your design is as lean as possible before sending it to be manufactured.
The three main processes you’re likely to use are FDM, SLS, and SLA.
A popular hobbyist supplier is Shapeways, but there are a large number of 3D printing bureaus who will happily accept small orders.
If you have access to a desktop 3D printer such as a Makerbot or Reprap then it will save you some money, but the quality will fall way short of what’s possible with professional machines.
Parting remarks
This has been a really quick blast through some of the options available. I hope it’s been useful!
Resources
If you’re interested in a more academic treatment of the options available, and a thorough treatment of the relative costs, check out this paper.